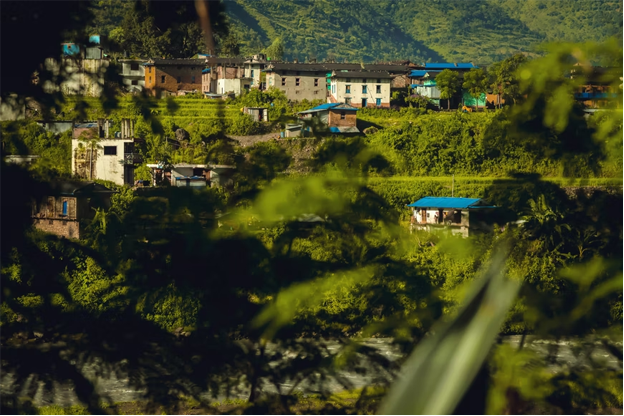
How Do Celebrate National Photography Day
Being outside has numerous advantages. It can help you feel more energized, more creative, and less anxious. If you needed another reason to get outside, consider this: The 15th of June is National Nature Photography Day. Allow this to be an excuse to get outside and practice your photography abilities.
What is National Nature Photography Day, And Why is it Celebrated?
Nature Photography Day is celebrated on June 15th by the North American Nature Photography Association (NANPA). It began in 2006 as a method to honor the art form and has since expanded into a tool to promote wildlife conservation around the world. Nature Photography Day is open to everyone. According to NANPA, here are some simple ways to enjoy the event:
Learn about the flora and animals that live in your area. If you don’t know who they are, does some research on them alternatively, delve further into some of your personal favorites?
Read about prominent naturalists and nature photographers to be inspired.
Create a treasure hunt in your neighborhood for specific animals, plants, and other natural wonders. This is a fantastic activity for the whole family!
Take a lot of pictures! Start photographing the natural world around you in a nearby park, nature preserve, or green spot.
Tips For Nature Photography
Outfit For The Outdoors
Don’t forget your hat, sunscreen, and insect repellent. You’ll be hiking through areas with snakes, spiders, bees and other critters that will be happy to make a meal out of you if they get the chance.
Use What You Have
You don’t need a $10,000 Nikon or Canon camera to take nature photos. You may not even need an SLR (single-lens reflex). Many point-and-shoot cameras have great zoom lenses that can produce stunning images. And if you don’t want to carry around too much gear, just use your iPhone or Android phone!
Pack Props
Bring along some things that will make your photo look better: brightly colored flowers, a hat or scarf to use as a prop, etc. There’s nothing worse than coming back from an awesome hike only to realize that you forgot something crucial like water or food!
Consult The Community
Before heading out into the great outdoors, search online for information on any recent animal sightings. Local nature photographers may have camera traps set up or could even be willing to accompany you on your trip (for an agreed-upon fee). This is especially useful if you’re traveling abroad or in an area where English isn’t spoken widely.
Find The Right Lens
When photographing wildlife, your choice of lens is crucial. You’ll want something long enough to get close to your subject without disturbing it and wide enough to capture its environment as well as its face. For example, if you’re photographing a bear from 10 feet away, a 300mm lens might be too long; but if there’s another animal nearby that requires a wider shot (such as a wolf), then that same 300mm lens would be perfect because it allows more background detail than a 200mm lens
Separate The Subject And Background
The first thing you should do when photographing nature is to separate your subject from its background so that it is clearly visible. You can use a wide aperture (f/4 or higher) or use a telephoto lens to create a shallow depth-of-field (DOF). DOF refers to the area in focus in your picture. If everything in your image is sharp from foreground to background, it means that the DOF is shallow. A shallow DOF helps highlight your subject by blurring out other objects in the frame. This technique works well for portraits as well as landscapes and seascapes.
Find A Dramatic Angle
If you want to show something from a unique perspective, try shooting from below or above it instead of straight on. This can make even ordinary objects look interesting and unusual.
Use The Rule Of Thirds
Most cameras have an option to display grid lines on your camera screen so that you can see where the “thirds” are when composing your shots (they’ll be spaced out evenly across your screen). You should try placing your subject on one of these lines rather than right in the center of the photo; this will help guide your eye through the image and make it more interesting.
Don’t Over-Expose
Try to find out what the correct exposure should be by using your camera’s built-in meter or by using an external handheld meter. Then adjust your settings until the meter shows that you have the right amount of light for a good exposure. You’ll want to avoid overexposing any part of your image so that it looks washed out or blown out when it comes time to print it or display it on screen.
Watch Out For Reflections!
Reflections can be beautiful additions to nature photography if used properly. However, they can also make an otherwise nice picture look like trash if not handled properly. If possible, try not to take pictures with waterfalls or lakes behind your subject because this will usually result in unwanted reflections on their fur (or feathers) and make them look unnatural and unappealing. Instead, try taking pictures with trees in the background


